How to Trim Around a Replacement Window
When replacement windows are installed it is almost inevitable that some remedial work will be required on the internal window reveals. This is usually down to one of two reasons. The profile of the new window will probably be different to the old one, meaning that the internal edge of the window might not butt up neatly to the old plaster line, leaving a gap. More commonly the plaster may have been damaged when the old window was removed.
You can of course patch up the plaster. This does require plastering skills and you will need to paint the reveal afterwards. An easier and more common way to get over the problem though is to “trim up” around the window – using small PVC window trims to cover the plaster damage or gap.
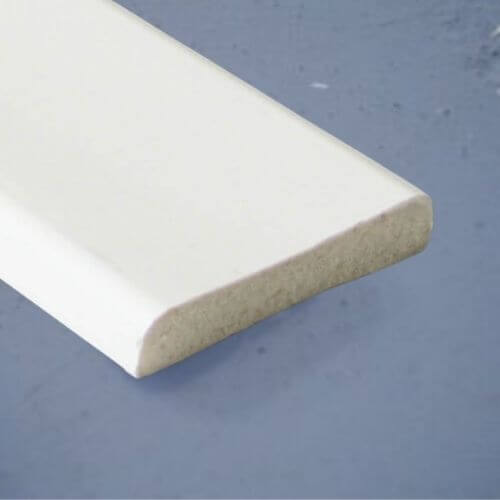
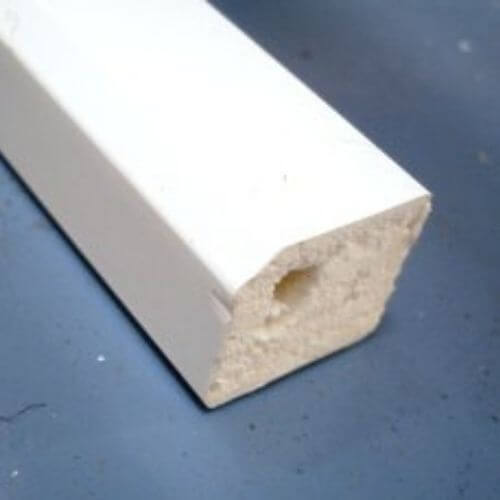
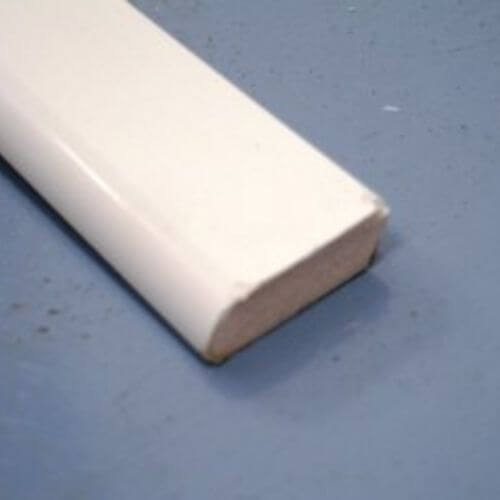
PVC trims come in a variety of sizes and shapes. There are traditional bull-nosed architrave sections, D shapes and fillets, quadrants (quarter rounds) and rectangles. The many different sections available enable you to choose the profile that works best for your particular application. Different colours are available to match the window finish, though white is the most common.
| ARCHITRAVE | QUADRANT | ANGLES (RIGID) | ANGLES (FLEXI) | D SECTION | SQUARE SECTION | EDGE FILLET |
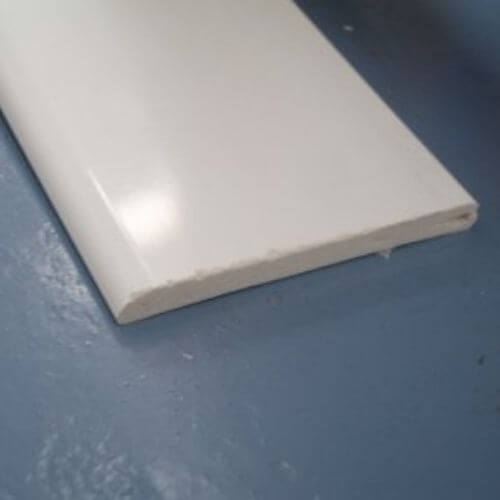 |
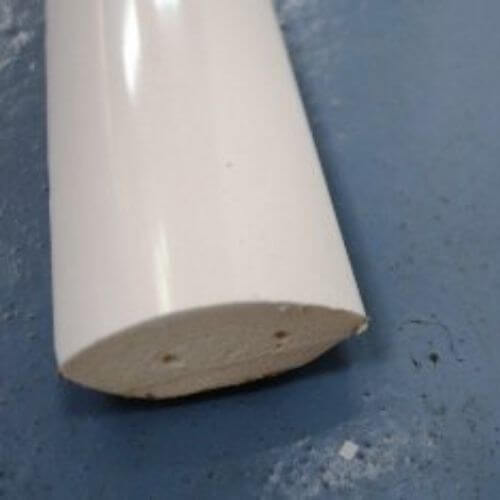 |
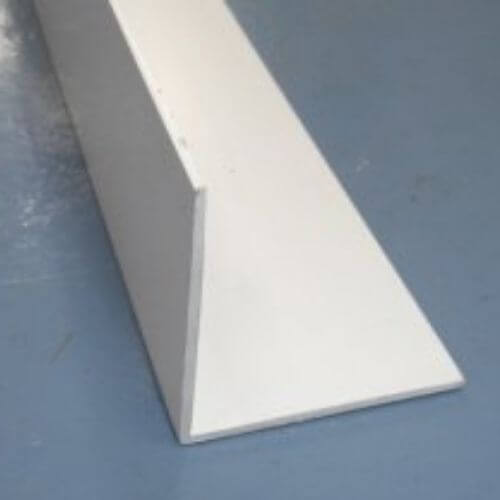 |
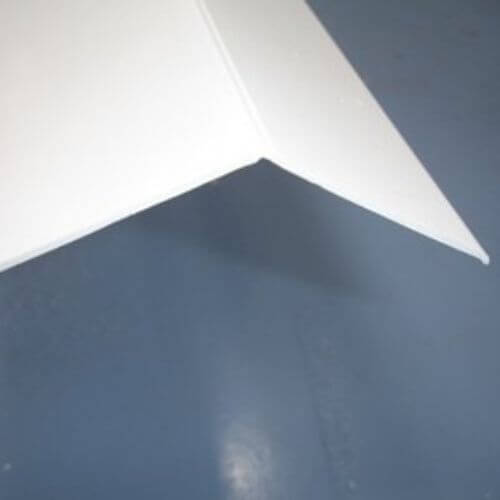 |
 |
 |
 |
Once you have chosen the trim, installation is fairly straightforward. Remember the old adage of “measure twice, cut once” and mitre the corners neatly. The most common method of installing PVC Trims is to use an adhesive such as superglue. Most good commercial superglues use an activator, which accelerates the drying time of the adhesive. Apply the glue and applicator to the rear edge of the trim and push into position, holding the trim securely for a few seconds whilst the activator does its job.
Some installers prefer to use low modulus silicon to fix trims in place. The disadvantage of this is that any trims fitted in an overhead position (such as the top of a window reveal) will need to be fully supported until the silicon has gone off.
It is also possible to use a grab adhesive to install trim, but in our experience, this can be messy – we prefer the superglue method.
For further details on trim installations, read our handy guide.


